
May 2, 2023
Whether you're setting up new accounts for employees or granting access to external partners, it's important to understand how to create users in the Power Platform.
As a Power Platform admin, one of your key responsibilities is creating and managing users. Whether you're setting up new accounts for employees or granting access to external partners, it's important to understand how to create users in the Power Platform. Thankfully, the process of creating users in the Power Platform is relatively straightforward.
Here's a step-by-step guide to help you get started:
Step 1: Navigate to the "Users" page
To create a new user in the Power Platform, you'll need to start by navigating to the "Users" page. This can be found by clicking on the "Settings" icon in the left-hand navigation menu and selecting "Security" from the options that appear. From there, click on "Users" to access the user management page.
Step 2: Click "New" to create a new user
Once you're on the "Users" page, you'll see a list of existing users (if any). To create a new user, click the "New" button at the top of the page. This will open up a new user creation form.
Step 3: Fill out the user creation form
The user creation form will prompt you to enter a variety of information about the new user, including their name, email address, and role. Be sure to fill out all required fields, as well as any optional fields that may be relevant to the user's role or permissions.
Step 4: Assign security roles and licenses
Once you've filled out the user creation form, you'll need to assign security roles and licenses to the new user. Security roles determine the level of access and permissions that the user has within the Power Platform, while licenses determine which features and functionality the user can access. Be sure to select the appropriate roles and licenses for each user.
Step 5: Save and activate the new user
Once you've filled out the user creation form and assigned roles and licenses, click "Save" to create the new user. The new user will be added to the list of users on the "Users" page, but they won't be able to log in until their account is activated. To activate the new user, click on their name in the user list and select "Activate" from the options that appear.
And that's it! With these five simple steps, you can create new users in the Power Platform and grant them the appropriate access and permissions. Of course, there are many other aspects of user management in the Power Platform to explore, such as managing user groups, resetting passwords, and revoking access. However, by mastering the basics of user creation, you'll be well on your way to becoming a proficient Power Platform admin.
Contact us today to learn more about how Microsoft Dynamics 365 CRM and 7Ones can help your business grow! https://www.7ones.com (213) 459-5858
Want to know how to optimize Microsoft Dynamics 365 CRM for your business?
Contact Us
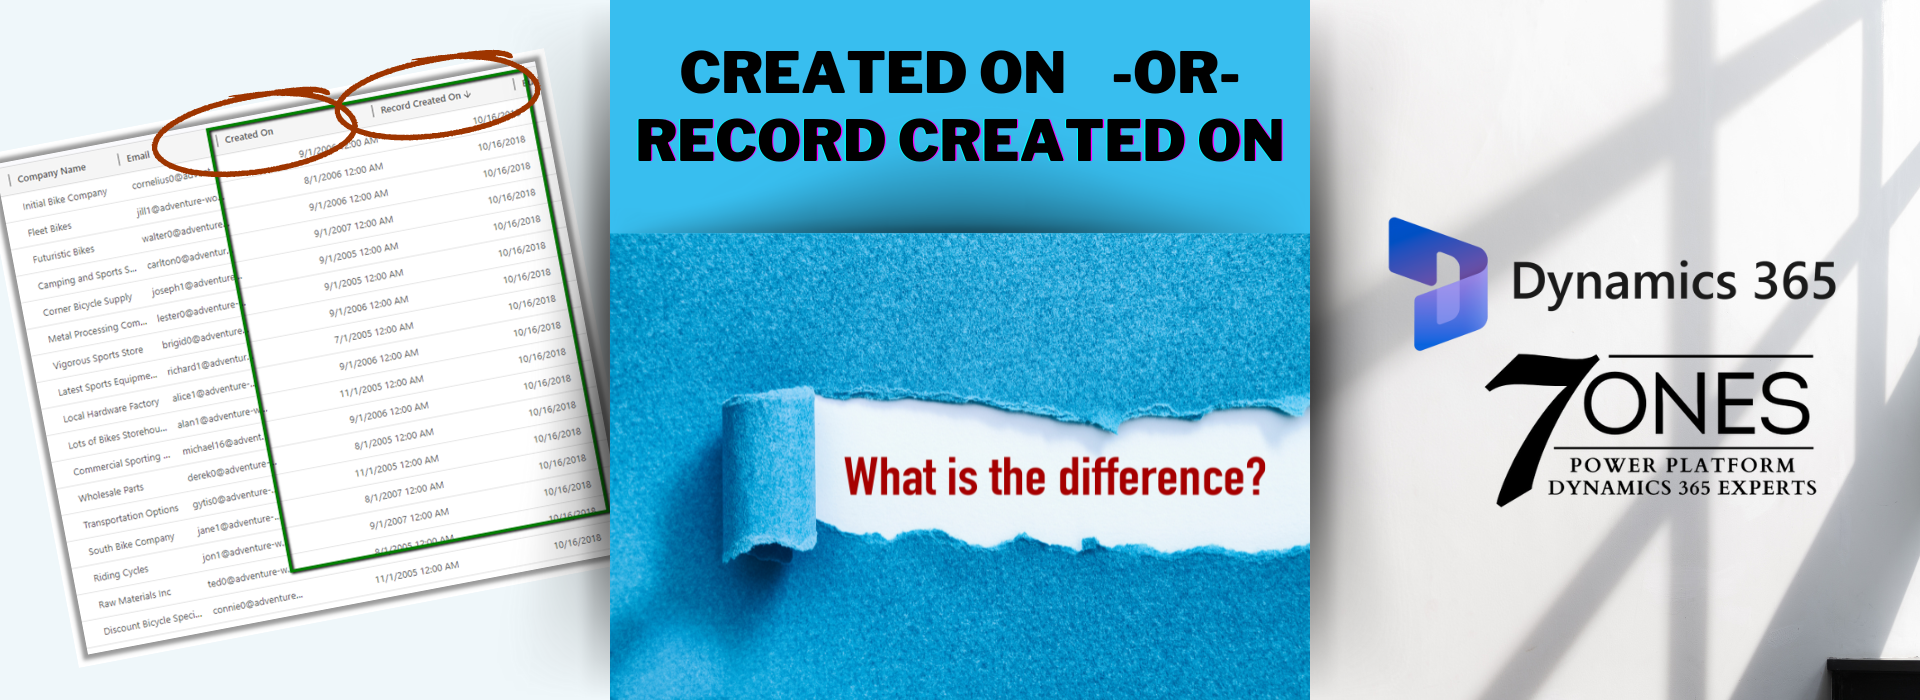
‘Record Created On’ vs ‘Created On’ date fields??

Microsoft Field Service and Microsoft Project Operations. Two similar solutions, or are they?

Mastering Dynamics 365 Sales User Adoption: Empowering Your Sales Team for Success

Dynamics CRM Migration from On Premise to the Cloud
Setting up Users in Dynamics 365 Sales

The Sales Process in Dynamics 365 Sales

Top 7 Dynamics 365 Customer Success Strategies

How to Demo Dynamics 365 CRM Sales
Ready to make your CRM work for you?
Contact