
May 17, 2022
This is not a setting that you can turn on in the new maker experience, you will have to use the ‘legacy’ configuration experience.

- From inside CRM, click the gear icon in the upper right and choose Advanced Settings.
- Click the down arrow next to Settings in the top bar and choose Customizations. Select Customize the System, and a popup will appear.
- On the right, open Entities, and find the entity you would like to add the jump bar to. (This example uses ‘Account’Select the ‘Controls‘ tab.)
- Under Control, click Add Control. Click the radial button(s) to indicate where you would like the Jump Bar to populate. Choose Power Apps Grid in the dropdown.
- Click the pencil next to Jump bar choose to enable. Now click Save and Publish.

Want to know how to optimize Microsoft Dynamics 365 CRM for your business?
Contact Us
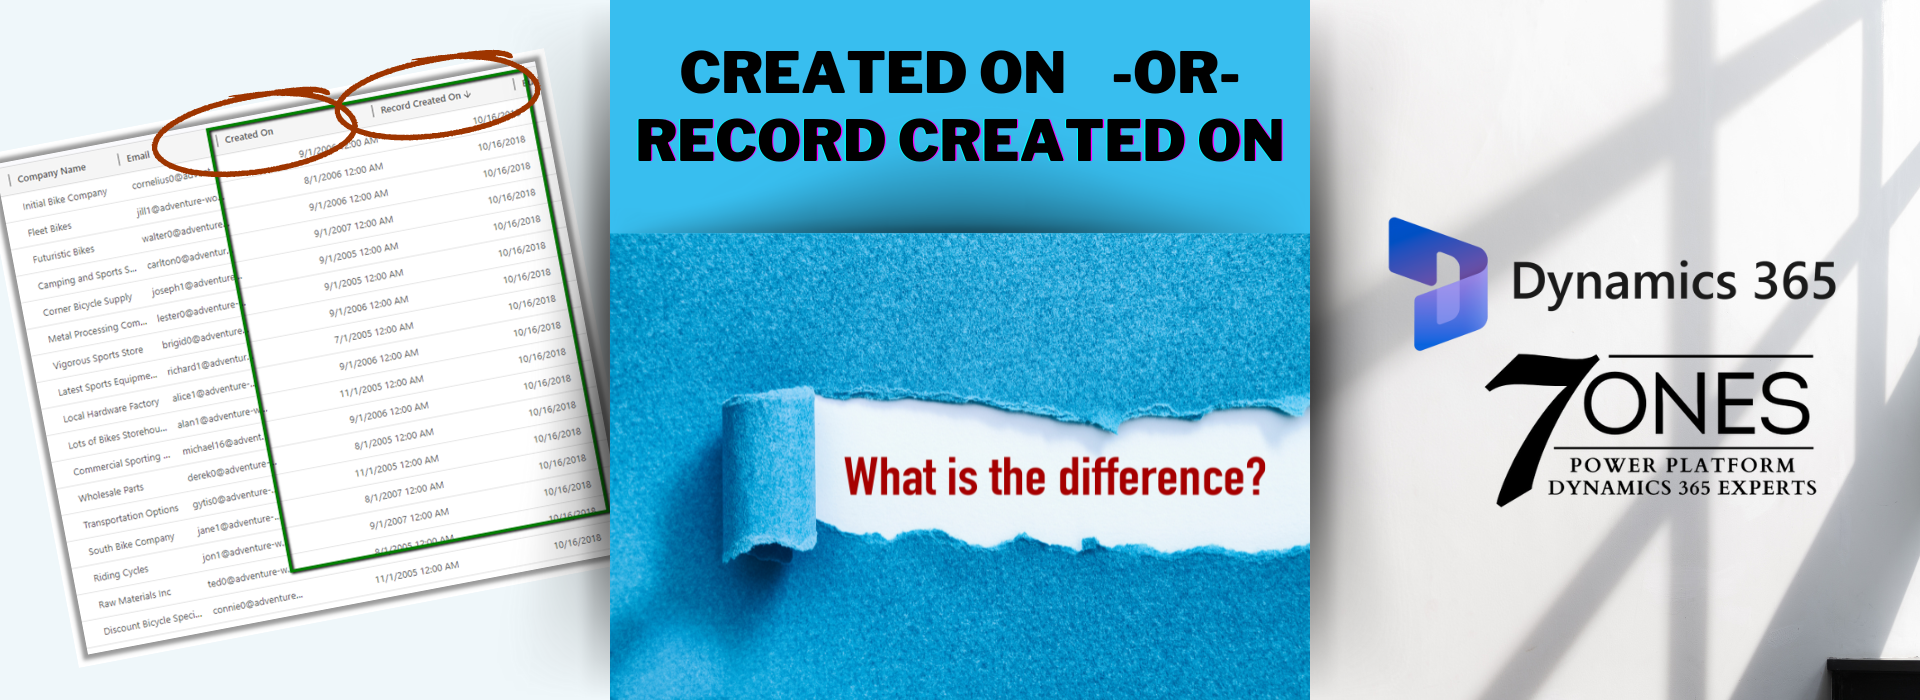
‘Record Created On’ vs ‘Created On’ date fields??

Microsoft Field Service and Microsoft Project Operations. Two similar solutions, or are they?

Mastering Dynamics 365 Sales User Adoption: Empowering Your Sales Team for Success

Dynamics CRM Migration from On Premise to the Cloud

Setting up Users in Dynamics 365 Sales

The Sales Process in Dynamics 365 Sales

Top 7 Dynamics 365 Customer Success Strategies

How to Demo Dynamics 365 CRM Sales
Ready to make your CRM work for you?
Contact